使用 MLflow 跟踪基于 Git 的应用程序版本
- 此功能是实验性的,可能会在未来的版本中发生变化。
- 由于访问 Git 元数据的限制,此功能尚不支持 Databricks Git Folders。
- 此功能需要 MLflow >= 3.4。
本指南演示了当您的应用程序代码位于 Git 或类似的版本控制系统中时,如何跟踪 GenAI 应用程序的版本。MLflow 通过 mlflow.genai.enable_git_model_versioning() API 提供基于 Git 的自动版本控制,该 API 可以根据 Git 状态无缝地跟踪您的应用程序版本。
启用后,MLflow 会自动
- 根据您当前的 Git 状态 创建或重用 LoggedModel
- 将所有跟踪链接到此
LoggedModel版本 - 捕获 Git 元数据,包括未提交更改的 diff
- 管理代码演进过程中的版本过渡
MLflow 跟踪的 Git 状态
MLflow 跟踪 Git 状态的三个关键组件
- 分支:Git 分支名称(例如,
main、feature-xyz) - 提交:唯一标识代码版本的 Git 提交哈希
- 脏状态:您的工作目录是否有未提交的更改。“脏”存储库表示存在尚未提交的修改。MLflow 捕获这些更改作为 diff,以确保完全可复现性。
为什么基于 Git 的版本控制适用于 GenAI
基于 Git 的版本控制将您的版本控制系统转变为强大的应用程序生命周期管理工具。每次提交都可能成为应用程序版本,并内置完整代码历史记录和更改跟踪。
基于提交的版本控制
使用 Git 提交哈希作为唯一的版本标识符。每次提交都代表一个完整的应用程序状态,具有完整的可复现性。
基于分支的开发
利用 Git 分支进行并行开发。功能分支成为可以系统地合并的独立版本流。
自动元数据捕获
MLflow 在运行过程中自动捕获 Git 提交、分支和存储库 URL。无需手动版本跟踪。
无缝集成
与您现有的 Git 工作流自然结合。无需更改开发过程或添加其他工具。
MLflow 如何捕获 Git 上下文
使用 mlflow.genai.enable_git_model_versioning(),MLflow 会根据您的 Git 状态自动管理版本跟踪。分支、提交和脏状态的每个唯一组合都会创建或重用 LoggedModel 版本。
自动 Git 检测
MLflow 检测 Git 存储库并自动捕获提交哈希、分支名称、存储库 URL 和未提交的更改。
零配置版本控制
只需调用一次 enable_git_model_versioning()——MLflow 会自动处理所有版本管理和跟踪链接。
智能版本去重
当 Git 状态匹配时,MLflow 会智能地重用现有的 LoggedModel,避免版本泛滥。
先决条件
安装 MLflow 和必需的包
pip install "mlflow>=3.4" openai
设置您的 OpenAI API 密钥
export OPENAI_API_KEY="your-api-key-here"
按照 入门指南 创建 MLflow 实验。
步骤 1:启用基于 Git 的版本跟踪
启用基于 Git 的版本跟踪的最简单方法是在应用程序的开头调用 mlflow.genai.enable_git_model_versioning()。
import mlflow

# Enable Git-based version tracking
# This automatically creates/reuses a LoggedModel based on your Git state
context = mlflow.genai.enable_git_model_versioning()

# Check which version is active
print(
    f"Active version - Branch: {context.info.branch}, Commit: {context.info.commit[:8]}"
)
print(f"Repository dirty: {context.info.dirty}")
您也可以将其用作作用域版本管理的上下文管理器。
with mlflow.genai.enable_git_model_versioning() as context:
    # All traces within this block are linked to the Git-based version
    # Your application code here
    ...

# Version tracking is automatically disabled when exiting the context
步骤 2:创建您的应用程序
现在,让我们创建一个将自动进行版本控制的简单应用程序。
import mlflow
import openai

# Enable Git-based version tracking
context = mlflow.genai.enable_git_model_versioning()

# Enable MLflow's autologging to instrument your application with Tracing
mlflow.openai.autolog()

# Set up OpenAI client
client = openai.OpenAI()


# Use the trace decorator to capture the application's entry point
@mlflow.trace
def my_app(input: str) -> str:
    """Customer support agent application"""
    # This call is automatically instrumented by `mlflow.openai.autolog()`
    response = client.chat.completions.create(
        model="gpt-4o-mini",
        messages=[
            {"role": "system", "content": "You are a helpful customer support agent."},
            {"role": "user", "content": input},
        ],
        temperature=0.7,
        max_tokens=150,
    )
    return response.choices[0].message.content


# Test the application - traces are automatically linked to the Git version
result = my_app(input="What is MLflow?")
print(result)
运行此代码时,MLflow 会自动
- 检测您的 Git 存储库状态(分支、提交、脏状态)
- 创建或重用匹配此状态的 LoggedModel
- 将所有跟踪链接到此版本
- 如果存储库是脏的,则将未提交的更改捕获为 diff。
步骤 3:通过代码更改测试版本跟踪
运行您的应用程序并观察版本是如何被跟踪的。
# Initial run - creates a LoggedModel for current Git state
result = my_app(input="What is MLflow?")
print(result)

result = my_app(input="What is Databricks?")
print(result)
# Both traces are linked to the same version since Git state hasn't changed
要查看 MLflow 如何跟踪更改,请修改您的代码(不提交)并再次运行。
# Make a change to your application code (e.g., modify temperature)
# The repository is now "dirty" with uncommitted changes

# Re-enable versioning - MLflow will detect the dirty state
context = mlflow.genai.enable_git_model_versioning()
print(f"Repository dirty: {context.info.dirty}")  # Will show True

# This trace will be linked to a different version (same commit but dirty=True)
result = my_app(input="What is GenAI?")
print(result)
MLflow 为以下内容创建不同的版本:
- 不同的 Git 分支
- 不同的提交
- 干净与脏的存储库状态
这确保了您的应用程序版本的完整可复现性。
步骤 5:查看链接到 LoggedModel 的跟踪
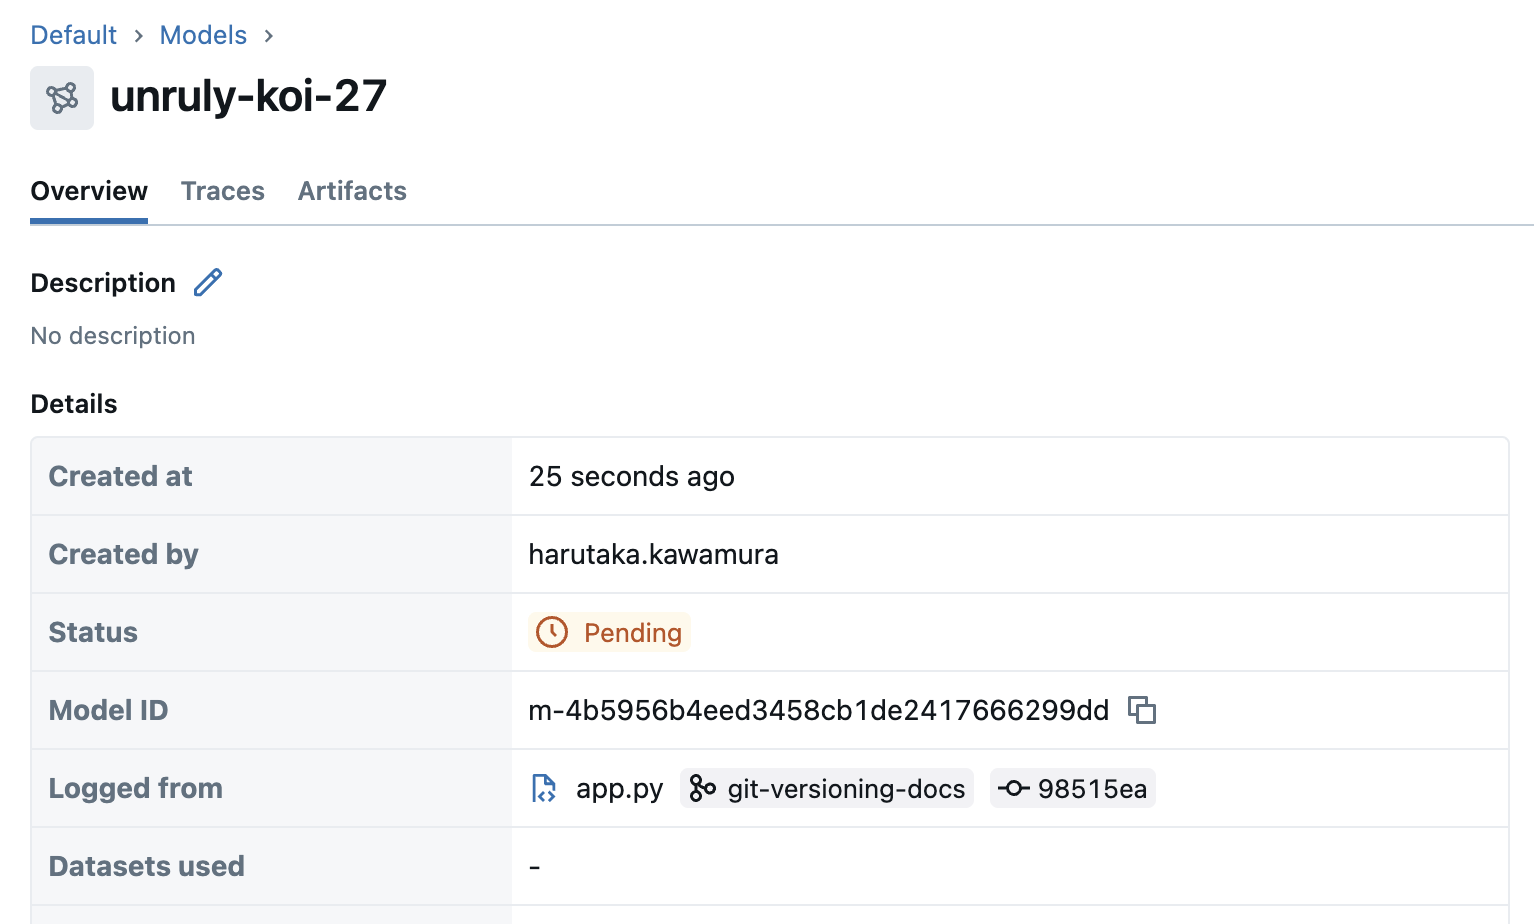
使用 UI
转到 MLflow 实验 UI。在“跟踪”选项卡中,您可以看到生成每个跟踪的应用程序版本。在“模型”选项卡中,您可以看到每个 LoggedModel 及其参数和链接的跟踪。
使用 SDK
您可以使用 mlflow.search_traces() 查询来自 LoggedModel 的跟踪。
import mlflow

# Using the context from enable_git_model_versioning()
context = mlflow.genai.enable_git_model_versioning()

traces = mlflow.search_traces(model_id=context.active_model.model_id)
print(traces)
您可以使用 mlflow.get_logged_model() 获取 LoggedModel 的详细信息,包括 Git 元数据。
import mlflow
import datetime

# Get the active Git-based version
context = mlflow.genai.enable_git_model_versioning()

# Get LoggedModel metadata
logged_model = mlflow.get_logged_model(model_id=context.active_model.model_id)

# Inspect basic properties
print(f"\n=== LoggedModel Information ===")
print(logged_model)

# Access Git metadata from tags
print(f"\n=== Git Information ===")
git_tags = {k: v for k, v in logged_model.tags.items() if k.startswith("mlflow.git")}
for tag_key, tag_value in git_tags.items():
    if tag_key == "mlflow.git.diff" and len(tag_value) > 100:
        print(f"{tag_key}: <diff with {len(tag_value)} characters>")
    else:
        print(f"{tag_key}: {tag_value}")
后续步骤
现在您已经了解了 MLflow 基于 Git 的应用程序版本控制的基础知识,您可以探索这些相关主题: